
The Friday night game should not freeze just as the score changes. Learning how to set up IPTV correctly starts with the connection already in your home, then comes down to choosing a compatible device, signing in to your authorized TV service, and making a few smart settings adjustments. With the right setup, your household can watch live channels, on-demand shows, and sports on the screens you use most.
How to Set Up IPTV: Start With Your Connection
IPTV delivers television through your internet connection rather than a traditional satellite dish or standard cable TV feed. That makes your internet service part of the TV experience. If several people are streaming, gaming, working from home, or joining video calls at once, a weak connection can show up as buffering, lower picture quality, or a channel that takes too long to load.
For one or two HD streams, a dependable 25 Mbps connection may be enough if little else is happening online. For a busy household, 4K viewing, online gaming, and remote work, more speed gives you useful breathing room. Unlimited data also matters when TV streaming is part of everyday life, especially for families that use multiple screens.
Speed is only one part of the picture. A stable wired connection is usually best for the main living-room TV. If Wi-Fi is your only practical option, place your router in an open, central area and use the 5 GHz Wi-Fi band when your streaming device supports it. Homes with large floor plans, thick walls, or rural property layouts may benefit from a mesh Wi-Fi system or a wired access point.
1. Check what your IPTV service includes
Before installing anything, confirm what you have received from your TV provider. A managed IPTV service may include a set-top box, remote, activation instructions, and a channel package. Other services use an app that you install on a compatible smart TV, streaming stick, phone, tablet, or computer.
You will generally need an account username and password, an activation code, or a provider-supplied device already tied to your account. Keep those details handy before you start. It is also worth confirming whether your package includes live TV, replay, cloud recording, on-demand programming, premium channels, or viewing on multiple devices.
Only use IPTV services that are authorized to carry the content they offer. If a service promises every premium channel for an unusually low price and provides vague setup instructions, it can create privacy, reliability, and legal problems. A legitimate provider gives you clear account information, support options, and transparent service terms.
2. Choose the right screen and device
Your best device depends on where and how you watch. Many newer smart TVs can install IPTV apps directly, which keeps the setup simple and reduces clutter near the television. Streaming devices are a good choice for older TVs with an HDMI port, while a provider set-top box can be the easiest option for households that want a familiar TV-guide experience and a dedicated remote.
A set-top box is often the most straightforward choice for a main TV because it is built for channel surfing and may include provider-specific features. An app-based setup is flexible if you want to watch in a bedroom, kitchen, home office, or while traveling. The trade-off is that app support varies by device, so check compatibility before purchasing hardware.
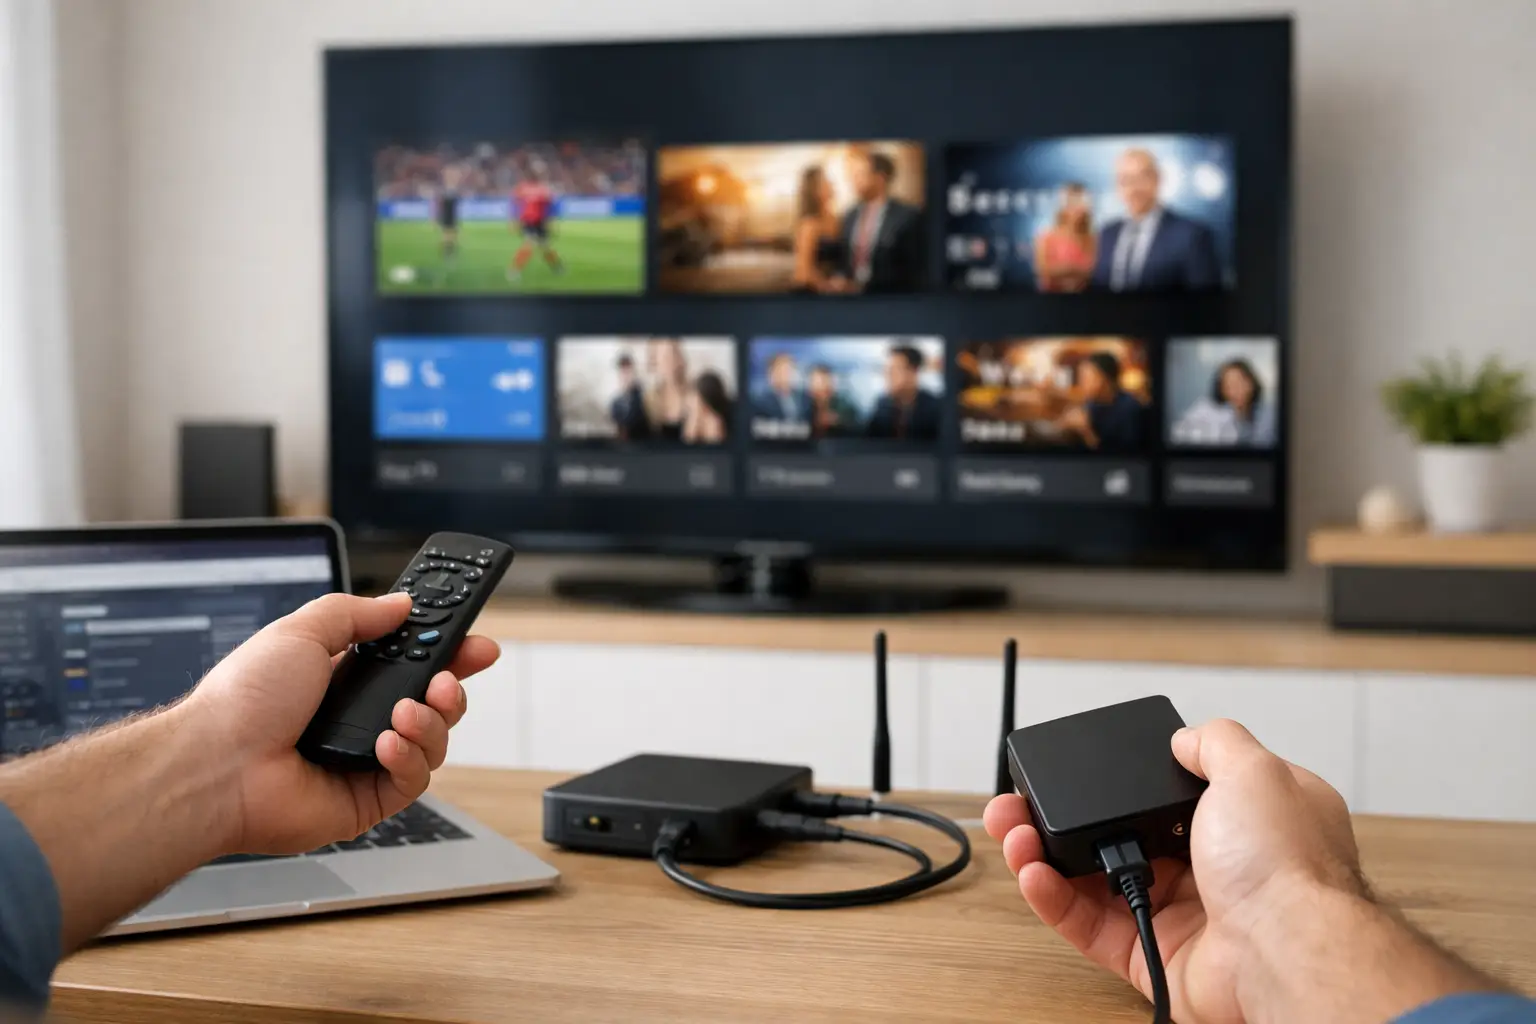
For the strongest results, connect the device to your television with HDMI and use a wired Ethernet cable when possible. If your TV has limited HDMI ports, make sure you have an available one before starting.
3. Connect the device to the internet
Turn on your TV and IPTV device, then connect it to your home network. With Ethernet, plug one end of the cable into the device and the other into an open port on your router or mesh unit. Most devices will recognize the connection automatically.
For Wi-Fi, select your home network from the device settings and enter the password carefully. Avoid guest networks for your main IPTV device, since they can limit how devices communicate or have lower priority on the network. Once connected, run a software update if the device prompts you. Updates can fix playback issues, improve app compatibility, and close security gaps.
If the TV is far from the router, do not assume a full Wi-Fi symbol means the signal is strong enough for 4K streaming. Try playing a high-definition program for several minutes. If the image pauses or drops in quality, move the router, add a mesh point, or consider an Ethernet connection.
4. Install your provider’s IPTV app or set-top box
If your service uses an app, open the app store on your TV or streaming device and search for the exact provider name. Download the official app only. Once installed, open it and sign in with your account credentials or enter the activation code shown on screen.
For a provider-supplied set-top box, follow the included instructions to connect the HDMI and internet cables, then power it on. The box may activate automatically after it reaches the network. In some cases, you will need to call support or complete activation through your account before channels appear.
S-Connect customers in Southwestern Ontario can benefit from local installation help when they want a straightforward answer instead of spending an evening troubleshooting cables and settings.
5. Set your picture, audio, and parental controls
After you can see live TV, spend a few minutes in the app or device settings. Set the video resolution to Auto unless you have a specific reason to choose 1080p or 4K. Auto lets the device match the TV and adjust to the available connection. Forcing 4K on a slower or inconsistent connection can cause unnecessary buffering.
Check the audio setting as well. A soundbar or receiver may need HDMI ARC, optical audio, or a particular output format such as Dolby Digital. If you get a picture but no sound, start by confirming the TV’s output setting before reinstalling the app.
Households with children should also set up a PIN for mature programming and purchases. This is a small step that prevents accidental rentals and gives parents more control over what appears in the guide.
6. Organize channels and test the features you will use
A good IPTV setup should feel easy after the first day, not just work during installation. Add favorite channels, review the guide, and learn how to access replay, recordings, or on-demand content included in your plan. If your service allows multiple profiles, create them so each person can keep their own watchlist and recommendations.
Test the service at the time your household normally uses the internet most heavily. Stream a live channel while someone uses a laptop or plays an online game. If everything remains clear and responsive, your setup is ready. If not, the issue may be Wi-Fi coverage, router age, too many connected devices, or an internet plan that no longer fits your household’s needs.
7. Fix common IPTV issues before they interrupt movie night
When IPTV does not work as expected, start with the simple checks. Restart the TV device, then restart the router if needed. Confirm that other devices can access the internet and that your account is active. If a single app is affected, check for an update or sign out and back in.
Buffering is different from a complete outage. Buffering often points to Wi-Fi interference, a weak signal, or heavy internet use in the home. A blank screen or account error may point to an activation issue. Take note of the exact message on screen before contacting support, because it helps narrow down the cause quickly.
Do not factory-reset a provider set-top box unless support instructs you to. It can remove activation details and turn a quick fix into a longer service call.
Make IPTV Work for Your Household
The best IPTV setup is not necessarily the one with the most equipment. It is the one that gives your family clear picture quality, reliable live TV, and easy access to the programs they actually watch. Start with dependable internet, use a compatible device, and give your main TV the strongest connection available. Once those basics are in place, IPTV becomes a practical part of a connected home rather than another device to manage.